
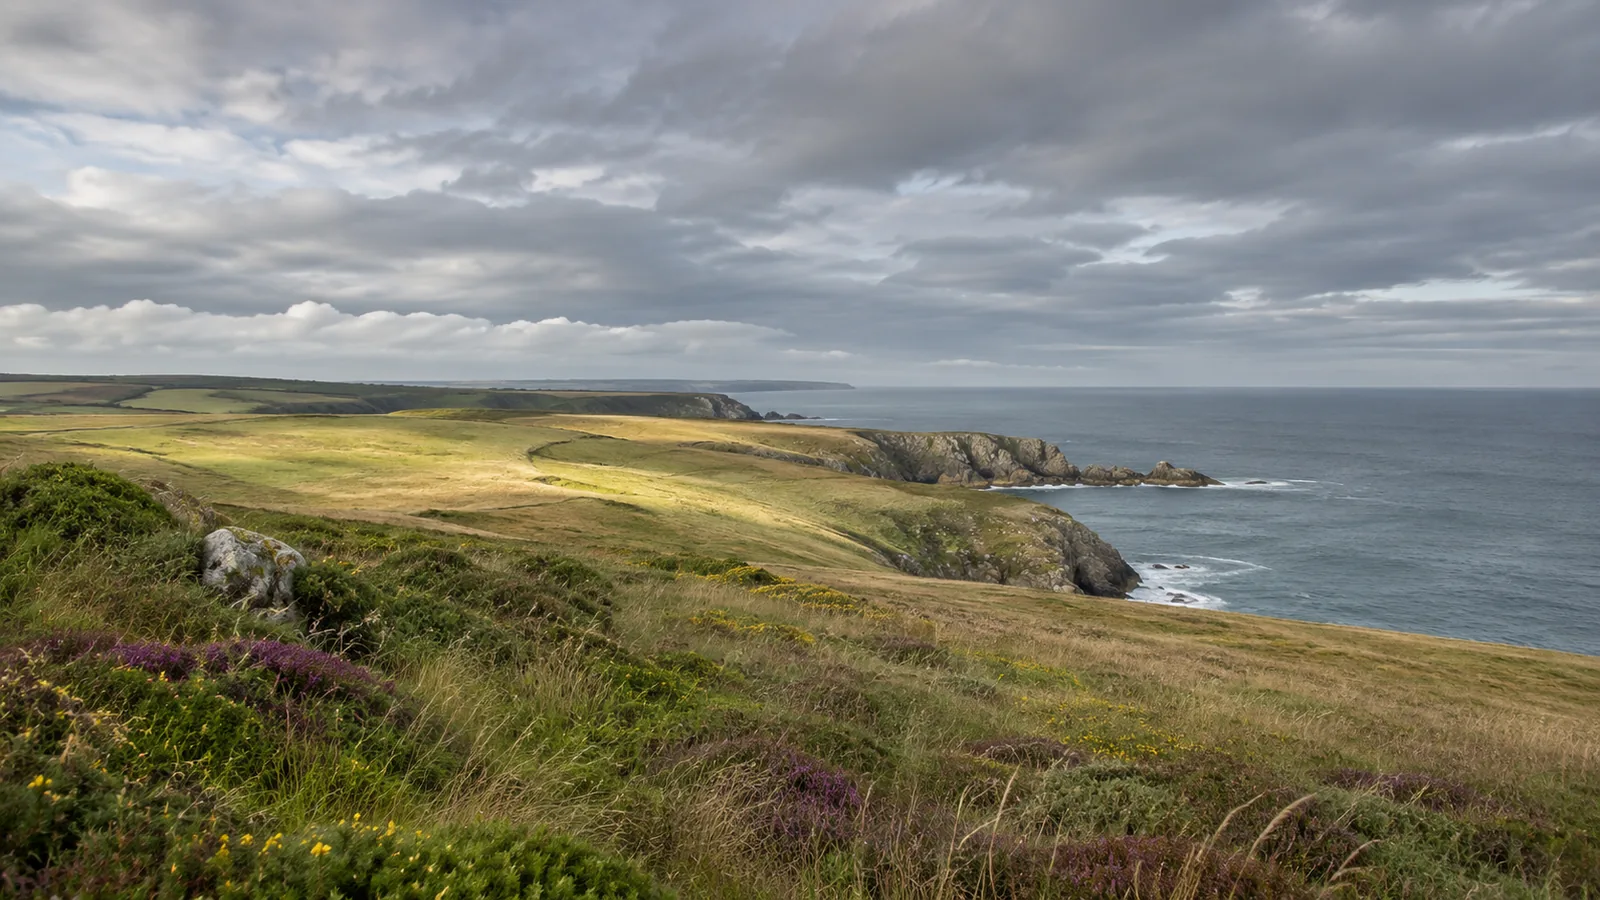
A weather app can show cloud over an entire headland while a thin bright strip sits on the horizon. For a photographer waiting for low sunlight, that strip may matter more than most of the sky. The reverse is possible too. A forecast with plenty of open sky may offer almost no direct light at the subject because the one bank of cloud lies in the direction of the sun. Cloud cover becomes useful to a photographer when it is read as information about extent, then combined with a question about direction.
Before a shoot, decide which light the picture actually needs. A picture of a building might depend on a shadow that shows the depth of a doorway. A portrait might need enough soft light to balance a bright background. A view of a wet coast might be better under an even layer that holds detail in the sky and foreground. These are different briefs. Giving each one an observable condition turns a set of percentages into a reason to choose a place, a time and a second plan.
The forecast has a place, a time and a definition
Start by reading the forecast provider’s explanation of its display. An icon may summarize a period, while a table can give values for individual times. A map may describe forecast conditions for an area rather than what you will see above one particular rock or doorway. The Met Office explains how to use the forecast table, including the distinction between a forecast for a particular location and broader written material. Read the display at the scale at which the information is provided. Met Office guide to forecast tables
Cloud amount has a history as an observation, too. The Met Office describes reporting the amount of sky covered in eighths, known as oktas. Its observing guide distinguishes some categories and notes that an obscured sky can require a different report. These conventions explain what an observer or system is trying to record. They do not say that every app uses the same display or the same source. In particular, a percentage shown in a forecast should be interpreted using that provider’s definition. Met Office, how cloud is measured
Try a simple thought experiment. Imagine standing in the middle of a circular space with a dome over it. Half of the dome appears cloudy. In one version the covered half lies toward the sun. In the other it lies away from it. The fraction is identical and the light reaching your subject can be very different. A forecast of area or fraction describes something real, while leaving the exact position and shape of a gap unresolved at your shooting point. A photographer should keep both parts of that statement in view.
The time of the forecast matters as much as the number. Check when it was issued and which hour it describes. A morning icon may remain relevant for a wide planning decision and still be a weak basis for a five-minute exposure window. If the timing of one passage of cloud is central to the plan, treat it as something to verify on the day. Use the forecast to decide what will be worth checking and keep enough flexibility to respond to what is actually happening.
Layers can change the quality of the light
A forecast product may show separate low, medium and high cloud values as well as total cover. ECMWF’s forecast user guide describes these as model-derived quantities for layers, with assumptions about overlap when calculating total cover. Adding percentages from different layers is therefore a poor way to estimate how much sky will be visible. Two layers can occupy some of the same area when seen from the ground. The products are useful when they help identify which part of the sky model is contributing to a broadly cloudy picture. ECMWF forecast user guide, cloud layers
Cloud height and apparent brightness are separate observations. A high veil can soften contrast, while a thick lower layer can block direct sun more decisively. The effect depends on the actual thickness, the direction of the light and what surrounds the subject. An hourly estimate of the coverage in one layer cannot describe every reflection on a face or on wet stone. It can help you prepare for a wider range of light and identify which distinctions would matter if you get them.
Imagine two hypothetical versions of a shoot at a harbour. In one, a high layer brightens the sky evenly, and the face of a person standing beside a warehouse remains in open shade. The photographer can move the portrait closer to an opening or change the angle to control the background. In the other, low cloud sits against the far slope and hides the feature meant to explain where the harbour is. Moving the subject may solve the portrait, while the wider establishing picture needs another treatment or another day. The same general forecast word can matter for different reasons.
You can also choose a subject whose visual value survives a change in layer. If the planned skyline is lost, an image of light reflecting from the quay may still work. If the sky clears and contrast increases, a view that uses a shadow intentionally may become possible. The alternative should have its own purpose. It is easier to decide quickly when you have already identified what it explains, rather than treating it as a substitute for a shot you wanted under entirely different conditions.
Compare the direction of the light with the shape of the place
At home, sketch the subject, where you expect to stand and the direction of the sun around the intended time. You can use a map and a dependable solar position tool for the location and date. Then add anything that could obstruct the light locally. A ridge, a building opposite or the edge of a courtyard can matter even under a clear sky. This distinction is useful when a test shot is unexpectedly dark. You may be waiting for a cloud to move when the geometry of the place is the limiting factor.
Suppose your subject is the side of a building facing an open square. The forecast shows intermittent cloud. If light from the intended direction reaches the wall for an hour, you can spend part of that period choosing an angle and still have time to wait for a break. If the same light clears a neighbouring roof only briefly, the timing is much tighter. Those two situations can share the same cloud forecast. A quick check of the location gives the weather information a practical consequence.
At the coast, think about how you will recognise the light you are waiting for. A patch of brightness over the water may be visible before it reaches the foreground, but clouds can develop or move differently than you expect. Watch the pattern for a while before judging which direction it is taking. At a place with exposed edges, tides or strong winds, make access and safety decisions using the relevant local authorities and warnings. A promising change in light is useful only if you can observe it from an appropriate place. Met Office, understanding forecast and warning information
If you are shooting with another person, agree on the cue before the gap appears. A vague request to wait for better light can leave everyone unsure about when to move. A specific cue could be that the doorway has a readable side shadow, or that the face and sky can both hold useful detail in a test exposure. One person can watch the foreground and the other can check where the horizon is clearing. That division is especially helpful when the scene requires a small adjustment before the exposure.
Keep observations separate from predictions
On arrival, make one reference picture and record the time. Note whether the subject receives direct light, whether the horizon is visible, and where the brighter part of the sky lies. These are observations, not a verdict on the forecast. A later picture can show which condition changed. If the forecast was reasonably close for the area but missed a local change, your notes can explain why a photograph turned out differently without attributing every difference to a failure of the forecast.
A group waiting for one specific view should set a time to make a decision. Pick a place where it is suitable to wait and a time after which the main idea no longer makes sense. Perhaps the sun goes behind a ridge, the location closes or the model’s availability ends. At that point, decide whether the fallback picture serves the brief. This is different from waiting until the original plan becomes impossible and then trying to invent a new one while packing up.
Weather radar and a cloud layer graphic also answer different questions. Before interpreting an empty patch on a screen as a clear sky, check what the product is showing. A display for precipitation provides information about precipitation. It may have little to say about the cloud that changes the softness of a portrait. The product name and legend matter more than the visual similarity of colours across two apps. Look for the observation or forecast that matches the decision you need to make.
Review the plan against a pair of photographs
Try keeping the camera position and exposure treatment comparable when you make that pair. A different angle can make a surface catch light in a way that resembles a weather change. A strong adjustment during editing can do something similar. Comparing the unedited reference frames gives you a better chance of seeing which difference came from the scene. You can then make the artistic choices each final picture needs while keeping a useful record of the conditions in which it was made.
Keep one picture made under the expected light and one made when the conditions changed, if you were able to capture both. Compare the same area of the subject. On a wall, look for the edge that made its shape readable. In a landscape, look at whether the distant feature remained distinct. On a portrait, check whether the eyes and background are doing the work you intended. If the condition you were waiting for made little difference, revise the brief rather than assuming that it must matter on the next shoot.
For a photograph that accompanies reporting, describe what you can establish. Give the place and time of the observed view if they matter. If you mention a forecast, identify it as a prediction and say which period it covered. A photograph of a bright patch at one moment does not establish that an entire afternoon was sunny. The generated cover for this article is a generic illustration of variable light and has no location or observation time. Keeping those distinctions is part of making a picture useful to the person who sees it later.
The practical habit is to carry two questions from the screen to the location. Which direction needs to be clear for the intended light, and what will show that the condition has arrived? The forecast can tell you about possible cloud at a useful scale. The place, the time and the actual pictures complete the decision.