
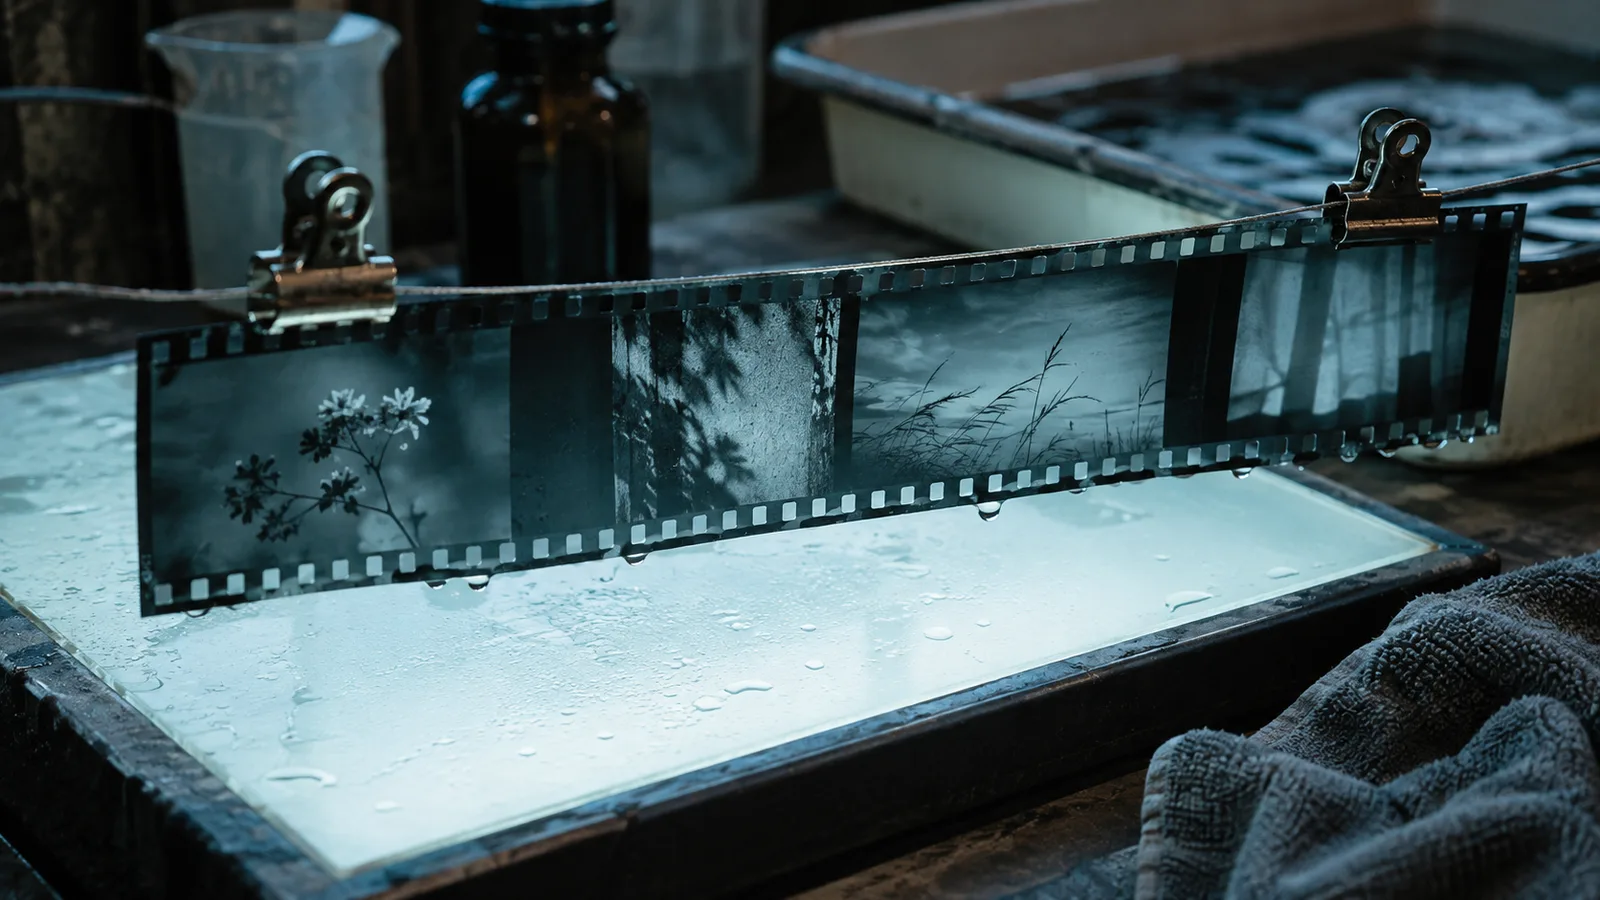
The first useful result from a box of negatives may be a list, not a photograph. Which strips belong together? Which envelope carried a date? Is the pencil note about the whole roll or one particular frame? Once the images become files, those small relationships can be surprisingly difficult to reconstruct. A technically attractive scan can preserve an image while losing much of the information that made it understandable.
That is why a home digitisation project benefits from two parallel aims. One is to capture the photographic image well enough for its intended uses. The other is to preserve the identity and context of the physical material. The second aim is easy to postpone because it produces fewer immediately satisfying pictures. It is also what allows somebody else to understand the collection after the person doing the scanning has forgotten the details.
The US National Archives advises keeping originals after digitisation and treating digital files as material with preservation risks of their own. That makes an important distinction: creating access to an image does not complete the preservation of its source. For a personal archive, the practical response is to connect the physical collection, the capture files and the information describing them. National Archives guidance on digitising family material
Begin with a small, representative group
Choose a manageable group that reflects the range of material in the collection. A few easy images can make an unfamiliar process look more reliable than it is. Include, where the collection permits, a frame with important shadow detail, a frame with fine texture and something representative of the physical condition you will encounter. The purpose is to test a workflow before repeating it across a large number of originals.
Keep the original grouping visible during that test. An envelope, sleeve or sequence can contain information about chronology and ownership. Record useful writing before transferring material between containers. If a note is ambiguous, preserve the ambiguity instead of turning it into an exact date. A filename that confidently assigns the wrong year can become more persuasive than the uncertain evidence from which it was invented.
Give the group a stable identifier. That identifier should connect the physical location, the capture session and the eventual files. It does not need to encode every known fact. In a hypothetical collection, a short collection code, roll number and frame reference may be enough to establish the link. Descriptive information can live in a separate record where it can be expanded without renaming the entire archive.
Do not reorganise everything at once simply to make scanning faster. A convenient new order may destroy relationships before they have been documented. First establish what the current arrangement tells you. Then make a deliberate decision about any changes. Digitisation is often the moment when a family archive receives its first systematic attention, which makes those early administrative choices more consequential than they appear.
Condition comes before cleaning
Old photographic material should not be treated as ordinary household plastic or paper. If something is brittle, stuck, unusually distorted or otherwise concerning, pause before placing it into equipment. The Library of Congress’s digitisation guidance places handling and the condition of originals at the centre of preparation. Its institutional procedures also underline why a method suitable for one material should not be assumed safe for every other format. Library of Congress handling guidance
For a home project, that means recognising when an assessment is beyond your experience. A photograph that needs conservation advice is not made safer by an urgent desire to finish the folder. Record the concern and seek help from a qualified photographic conservator or an appropriate archive. Do not improvise chemical treatment from a general cleaning tip that does not identify the material or its condition.
Prepare the workspace before bringing the originals into it. You need enough clear space to keep the current group separate from the next one, and a way to avoid losing the connection between an image and its identifier. The aim is an orderly sequence of actions. Reaching across loose strips, balancing sleeves on equipment and leaving unidentified originals beside a keyboard create avoidable opportunities for confusion and damage.
The first test should include returning the material to its documented location. A capture process is incomplete if the files are orderly but the originals have become a pile awaiting attention. Decide in advance where completed groups go, how their completion is recorded and what happens to material set aside for specialist advice. That closes the physical part of each session instead of accumulating an unfinished second project.
Choose capture settings around a purpose
Different uses need different levels of detail. A quick reference image for identifying a family member is a different deliverable from a capture intended for substantial enlargement. Write down the intended use before choosing a setting. This makes it easier to judge whether a test has enough information, rather than assuming that the largest number offered by a device automatically represents the most useful result.
Pixel dimensions provide a concrete way to discuss an output requirement. As a hypothetical calculation, an image intended to span ten inches at three hundred pixels per inch needs three thousand pixels across that dimension before allowing for cropping. This describes an output relationship. It does not prove that a particular scanner setting captures that much genuine detail from a particular negative. The equipment and original still have to be evaluated together.
Examine a representative capture at a useful magnification and in its intended output. Look for the detail you hoped to preserve and for problems that might belong to focus, alignment or the capture setup. A larger file can contain a larger version of a poor capture. Increasing a number without investigating the result may add storage and processing time while leaving the underlying limitation untouched.
Keep a record of the settings used in the successful test. If a scanning application offers automatic corrections, identify which were enabled. An automatic adjustment can help produce an access copy, but you should know whether it has changed the appearance of the capture. The archive becomes easier to understand when the initial capture and later interpretation are connected through recorded decisions rather than merged into an unexplained final file.
The first positive image is an interpretation
Turning a negative into a positive-looking image introduces choices about tone and colour. It can be tempting to stop as soon as a familiar face appears. A better review asks whether meaningful information has been retained, whether the result is consistent across the group and which decisions depend on uncertain assumptions about the original. An attractive conversion is useful, but it is not automatically a definitive account of how the scene looked.
For a hypothetical colour portrait, adjusting the face until it looks plausible may also change clothing or background relationships. Compare the whole image, and keep the conversion decisions reversible where the software allows. If a known reference exists, record what it is. If none exists, describe the result as an interpretation made during digitisation instead of claiming a perfect recovery of an appearance nobody has verified.
Avoid applying a strong finishing style to the only high-quality copy you retain. A creator may want a contrasty version for publication today and a more restrained version for another use later. Preserving a well-documented capture allows those versions to be made without repeatedly handling the original. It also gives a future editor something clearer to work from than a small file whose earlier adjustments cannot be separated.
Corrections to dust or damage should be recorded according to the purpose of the project. A family keepsake and an evidentiary archive can have different requirements. Before retouching, decide what the file is meant to represent and preserve a suitable version of the unretouched capture. The important distinction is between making an image accessible and quietly changing information that a later user might reasonably assume belonged to the original.
Review the sequence as well as the individual frame
An individual scan may look acceptable while a whole group reveals a problem. Similar scenes might have received inconsistent colour treatment. A recurring edge issue might suggest a setup problem. An identifier may have been skipped, shifting the relationship between files and physical frames. A contact view of the group makes those patterns easier to notice than inspecting each file in isolation.
Check that every expected frame has a corresponding file and that the identifiers still agree. When a frame has deliberately not been digitised, record that decision. Otherwise a future reviewer cannot distinguish an intentional omission from an accidental loss. A small completion log can prevent the same strip being handled again because nobody can tell whether the earlier session was finished.
Where a picture includes writing or other fine evidence, inspect that passage specifically. An image can be recognisable overall while losing exactly the information that a researcher or family member needs. The test should be related to the collection’s purpose. For a portrait archive, expressions may matter most. For photographs of documents, legibility may be decisive. One generic visual approval cannot settle every use.
If you discover a recurring fault, correct the process before extending the batch. This can feel slow when a large collection is waiting, but repeating an avoidable problem creates more work. Keep the unsuccessful tests identified so they are not later mistaken for approved captures. The archive should make it possible to tell what was accepted, what was superseded and why a new version exists.
A file needs a route back to its source
Use descriptive records to connect names, approximate dates, places and uncertainty. Separate observed information from later identification. For example, a note written on an envelope and a relative’s recollection are different kinds of evidence. Both may be valuable. Recording where an identification came from allows it to be reconsidered without erasing the earlier record or turning one person’s memory into an unattributed fact.
Keep the source reference stable when creating different exports. A web copy, a print file and a retouched version should all point back to the same capture and original. This prevents a future search from becoming a comparison of visually similar filenames. A relationship that is obvious during today’s editing session may be obscure a year later, especially when another person takes responsibility for the material.
Do not rely exclusively on information hidden inside one application’s catalogue. Establish what will travel with the files and what requires exporting separately. Test that handover by opening a small group outside the original editing setup. The purpose is not to reject cataloguing software. It is to verify that the archive remains understandable if the computer, application or person managing it changes.
Finally, make and check independent copies of the completed work. A folder displayed on two screens may still depend on a single storage location. Verify what is actually stored where, and test that a saved file can be opened from the additional copy. Digitisation makes photographs easier to access and share. That advantage lasts when the files remain connected to their sources, their decisions and a preservation process that continues after the first satisfying scan.