
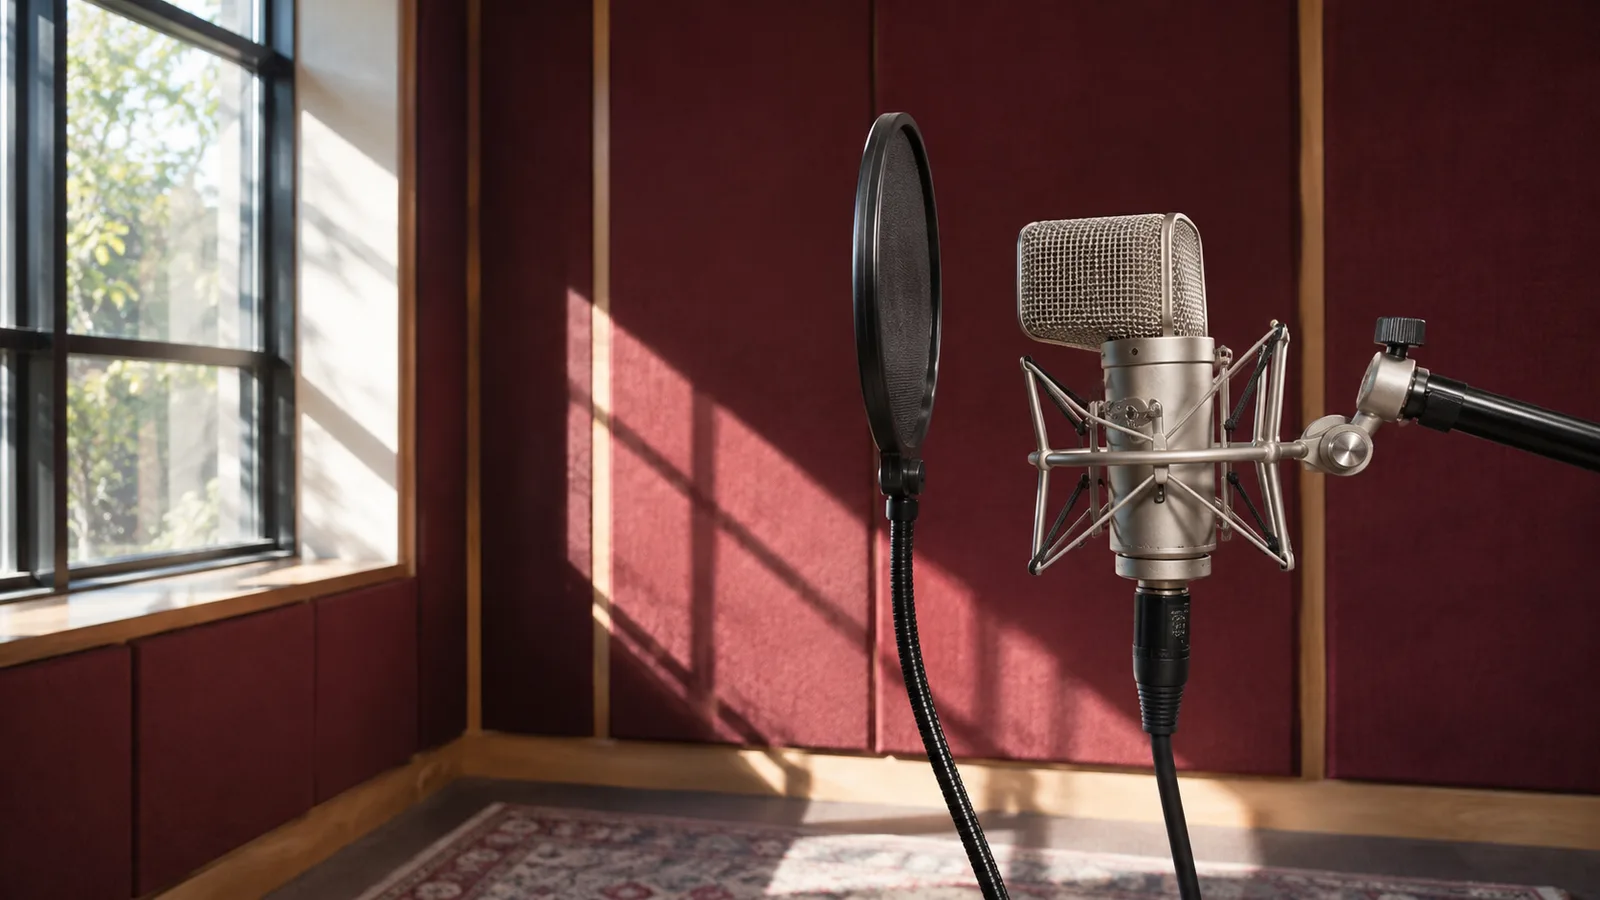
Moving a microphone can change a recording more than changing an effect afterwards. A voice that sounded clear in one position may become less distinct after a small turn, while a computer fan seems to become more prominent. The recording level may be unchanged. What has changed is the relationship between the microphone, the intended source and the sounds arriving from other directions.
A polar pattern helps explain part of that relationship. It describes how sensitivity varies with the direction from which sound arrives. It is useful information, but it is often misread as a drawing of a zone inside which the microphone hears and outside which it hears nothing. That interpretation creates unrealistic expectations, especially when a creator hopes that a directional microphone will remove the room around a distant voice.
Shure’s explanation of microphone directionality introduces the main pattern types and their different responses. The practical value is in relating a pattern to a position, rather than selecting a shape as though it were a quality ranking. A pattern appropriate for one arrangement may be awkward in another. Before deciding what to buy or how to process a recording, establish what the microphone is being asked to capture. Shure’s polar pattern explanation
A diagram is a measurement, not a wall
The familiar polar drawing is a simplified way to present directional response. It needs to be read with its labels, orientation and measurement conditions. The front of the microphone must also be identified correctly. A large grille does not by itself tell you where to speak. Some microphones are addressed from the end and others from the side. The manufacturer’s instructions for the particular model settle that question more reliably than the appearance of the housing.
Beyerdynamic’s guidance explicitly connects the two-dimensional pattern illustration with a three-dimensional measurement. It also explains why a microphone cannot be assigned a simple range as though it were a lens focused on one distant source. That is a useful correction for a small video production: the pattern can support a placement decision, but it does not guarantee intelligibility across a noisy space. Beyerdynamic’s explanation of polar patterns
Imagine a hypothetical presenter seated at a desk. The microphone points in a plausible direction, but the presenter speaks across its least useful side because the body was mounted for visual neatness. Raising the input level makes the file louder without correcting the orientation. The first diagnostic step is to identify the intended address and record a short comparison, not to add a chain of processing to compensate for an unknown setup.
Keep the diagram’s frequency information in view where it is supplied. A single outline can be a convenient summary, while the full documentation may show differences across frequencies. For a particular microphone, those details matter when evaluating sounds arriving from the side or rear. Do not infer the complete behaviour of a model from a generic drawing copied into a shopping guide.
The room arrives from more than one direction
An indoor recording contains the direct sound and sound affected by the space around it. A voice can reach the microphone through more paths than the straight line between mouth and capsule. That is one reason a directional pattern does not make the room disappear. Placement has to consider the source, nearby surfaces and the broader environment rather than only the direction of one obvious noise.
For the imagined desk recording, compare two plausible arrangements before committing to a long session. Keep the speaking style and recording settings consistent enough for the comparison to be meaningful. Listen to the saved files at comparable playback levels. If one recording is simply played louder, it can seem more immediate without actually solving the original problem. A useful test is designed to distinguish causes, not merely produce a preference.
Start with a concrete question. Is the voice losing clarity when the presenter turns? Is a nearby fan too prominent? Does the room become distracting in pauses? These are different problems. A pattern change may affect them differently, and some may be better addressed by moving the speaker, changing the room arrangement or choosing a quieter time. Naming the issue narrows the test.
The same approach avoids unnecessary purchases. If the microphone is far from the voice because the camera framing leaves no room for it, another directional model may still face an unfavourable arrangement. Establish whether the intended production can support a better position. A recording plan includes where people and equipment can actually go, not just the specifications of the equipment that fits in a bag.
Omnidirectional is a choice with a purpose
An omnidirectional pattern is often discussed only as the thing to avoid when background sound exists. That is too simple. The intended recording might benefit from a broader relationship with the environment, or require a practical arrangement in which orientation varies. The important question is what the microphone should represent. Capturing a clear individual voice and recording the atmosphere of a place are related but distinct tasks.
Consider an imagined audio diary recorded in a workshop. The creator may want a spoken explanation alongside the sound of tools and movement. Removing every trace of the environment could weaken the account. The recording still needs understandable speech, so position and level remain important. The example shows why a pattern should be evaluated against an editorial purpose, rather than treated as an automatic score for isolation.
If the equipment offers selectable patterns, record a controlled comparison using the documented orientations. Do not change the microphone position, input level, room and pattern all at once and then attribute the result to the last setting you touched. A change in sensitivity or output can also affect perceived loudness. Match the comparison appropriately before deciding which relationship better serves the scene.
When more than one person speaks, test the actual positions. A pattern that suits one central speaker may distribute attention differently across a group. Ask each person to speak naturally and listen for changes that would make the edit difficult. A group arrangement should be judged as a group arrangement, rather than inferred from a successful test with the nearest or most confident voice.
Directional patterns need deliberate orientation
A cardioid pattern can be useful when you want the microphone oriented towards one main source. More directional patterns have their own responses, including areas that need attention when positioning unwanted sources. Avoid assuming that a narrower-looking drawing rejects every sound behind the microphone. Read the actual pattern and use the model’s documentation to understand its orientation and relevant sensitivities.
For a hypothetical interview, this could mean reconsidering the position of a computer, an open doorway or another speaker. The goal is not to find one magical angle that cancels the whole room. It is to improve the relationship between the intended voice and a specific competing source where the production arrangement permits. A small improvement made before recording can be easier to preserve than an aggressive repair made after the words overlap with noise.
Physical constraints can prevent an ideal position. A stand may block a camera, a guest may need to move or the room may not allow a safe cable route. Those constraints belong in the decision. Choose a workable compromise, test it and understand what it costs. An acoustically attractive position that cannot be maintained during the real conversation is not a finished solution.
If the speaker moves, include that movement in the test. Ask for the action that will happen during the recording, such as turning towards a demonstration or leaning back to think. Listen for the change in voice and background relationship. The relevant pattern is the one operating through those movements, not only the one represented by a stationary rehearsal with somebody facing exactly forward.
Two-sided pickup is not two independent microphones
A bidirectional pattern can be useful in a particular arrangement, but the drawing should not be interpreted as two separately controllable recordings. The microphone’s output and routing need to be understood from the equipment. If two people sit on opposite sides, test both voices and the environment. The usefulness of the arrangement depends on the actual positions and what the resulting recording preserves.
The edit may require independent control over speakers. That is a production requirement to establish before choosing the microphone arrangement. A visually elegant setup does not automatically provide isolated tracks or make interruptions easy to edit. Identify what is being recorded on each channel, and make a saved test that demonstrates it. A level meter moving is evidence of activity, not a complete explanation of the file structure.
This distinction is particularly important when a small team uses a single device for several purposes. A microphone may be capable of one pattern while the recorder or application combines inputs in a way that limits later control. Follow the signal through the whole setup. The acoustic choice and the routing choice work together, but one should not be assumed to solve the other.
There is also an editorial question about interaction. Two people facing one another may speak differently from two people facing a camera. The microphone should support the conversation you intend to record. If the equipment arrangement forces an awkward exchange, consider changing the arrangement rather than asking the participants to carry an unnecessary technical burden through the entire interview.
When evaluating the two voices, listen to a genuine exchange as well as isolated sentences. A person may become quieter when listening, turn towards a note or interrupt with a short response. Those transitions can expose a practical weakness that a formal sound check conceals. If the planned edit depends on a natural conversation, the test should include one. Write down the limitation you accept so that the camera operator and editor understand the same compromise.
Test the final recording path
Once the position and pattern are chosen, record, stop and play the saved file. Confirm that the intended input was used and that the channels contain what you expect. This catches a different class of problem from listening to the microphone alone. A successful acoustic rehearsal is incomplete if the camera or application records another source or saves a channel arrangement nobody has checked.
Keep a short note of the arrangement that worked. It can include the pattern, orientation, approximate position and relevant room decisions. A photograph of the equipment can support the note without needing to include identifiable people. The point is repeatability. After a break or another session, you should be able to restore the useful relationship instead of rebuilding it from a vague memory that the microphone sounded better yesterday.
Processing can then be judged from the actual material. Equalisation, dynamics and noise tools may have useful roles, but they should address a known recording rather than conceal an unexplained setup. Listen for what the voice needs to communicate clearly. A pattern is one part of that decision, alongside position, performance, room and the recording path. Understanding those relationships makes the diagram useful: it becomes a guide to a test you can perform, rather than a promise the microphone cannot keep.