
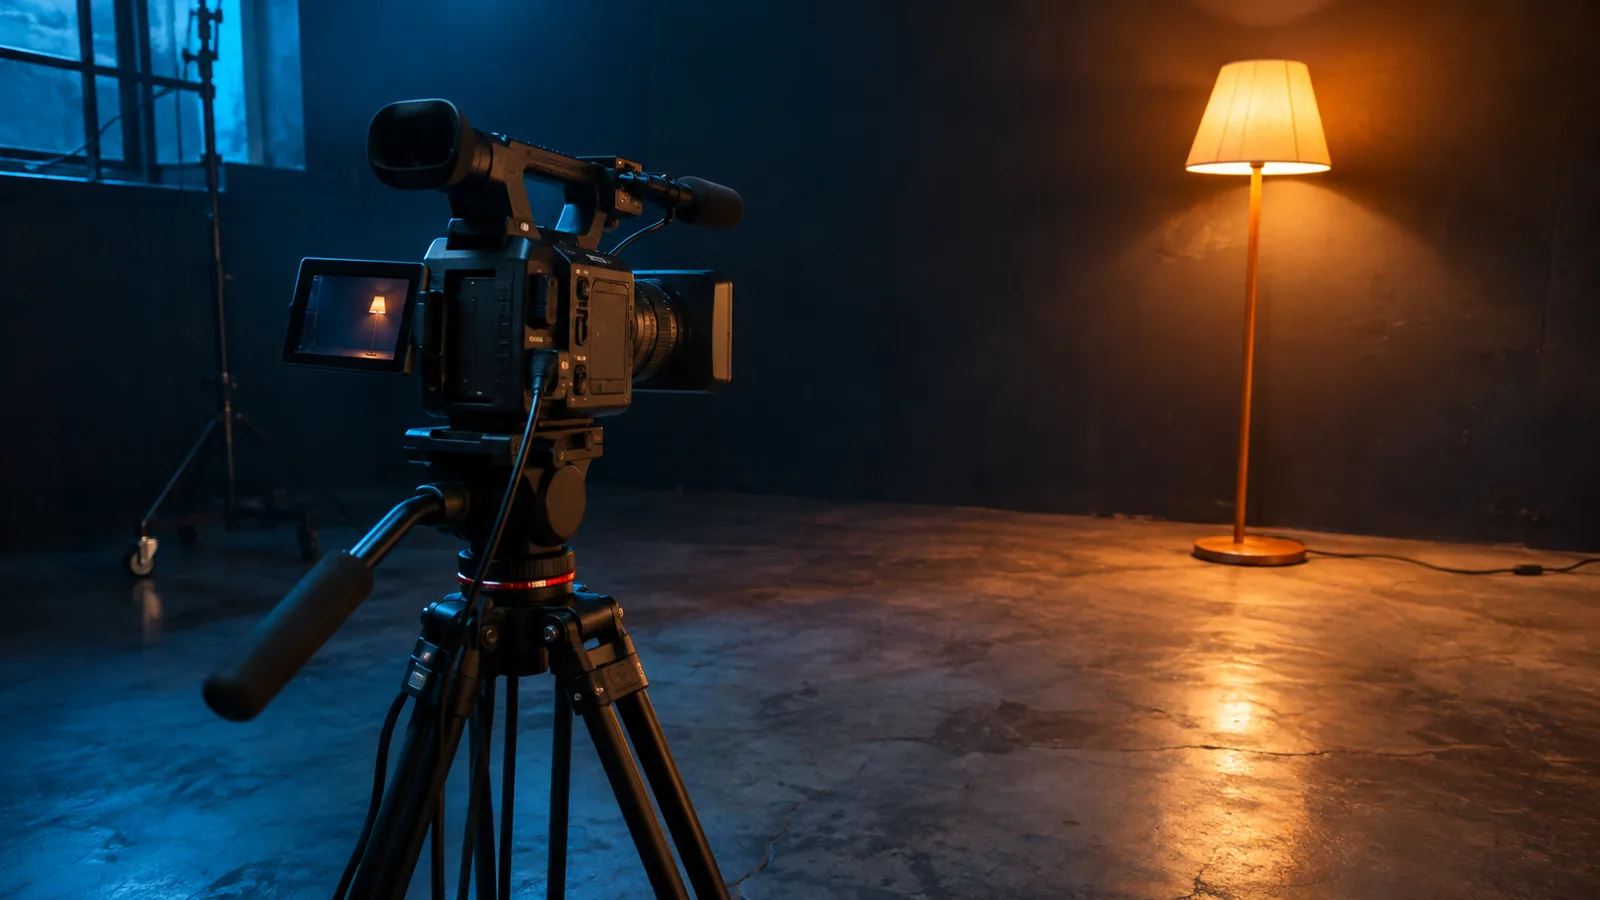
A presenter sits down under a light that looks steady. The camera picture seems fine at first. When you play the clip back, a dark stripe drifts across the wall and passes over the presenter’s face. A second clip, shot with the same camera and a different practical lamp in the background, looks clean. The useful question is what changed between the two recordings. If you treat flicker as a camera fault or decide that one shutter speed will solve every room, you can lose the chance to isolate the light, dimmer or display while it is still in front of you.
This is a problem of timing. Light output can vary faster than you notice with your eyes. The camera samples that changing light. A frame may be brighter than the one before it, or different parts of the same frame may have been recorded at different phases of the variation. Sony illustrates how sequential exposure across a sensor can produce bands and why some LED sources are difficult to handle with conventional anti-flicker timing. Panasonic’s manual for the DC-S1M2 describes separate video settings for reducing flicker and for fine shutter adjustment. These are examples of controls on particular cameras. The diagnostic method starts before choosing one. Sony, causes of flicker and high-resolution shutter adjustment · Panasonic, DC-S1M2 operating instructions
Record the problem before you change the set
Take a brief clip with the intended frame rate, exposure and lighting. Include the actual subject area and a reasonably plain part of the background. A pattern can hide weak bands. A bare wall or a neutral card in the light gives you an area where changes are easier to see. Hold the camera still for part of the clip. If you plan to pan, record the actual movement as well. Play the result back at the intended rate and watch both the foreground and the area near the practical lights. A preview may make the effect easy to spot, but it is the recorded clip that will go to the editor.
Look at the kind of change. Do stripes move vertically or stay near one part of the image? Does the whole frame pulse? Does the colour change in a patch that one fixture lights? It is useful to describe the symptom without diagnosing it immediately. If the whole room becomes brighter when a window enters frame, an automatic setting could be changing exposure. If the camera remains still and bands drift through a wall lit by one fixture, varying light becomes a more plausible explanation. Locking exposure and white balance for the controlled test removes two reasons the recorded image might change while the subject is still.
A light can be a problem even if its body never appears in the picture. It can put bands into the area it lights. Conversely, a screen may produce moving patterns within its own rectangle while the light on a face stays stable. A test that frames only the equipment misses both distinctions. Place the test card where the presenter will sit and include the background that will be used. If you need a close-up after a wide shot, test the close-up too. A band that occupies a small part of the wide frame may become much more visible once the subject fills the picture.
Take a note of camera model, frame rate, shutter, fixture and dimmer position. For a small team the note can simply be spoken at the start of each test clip, with settings in the filename afterwards. The point is to make the tests identifiable if another person reviews them or you come back to them after adjusting the room. A folder with three nearly identical videos called test does little good when you need to tell which one was filmed before the dimmer changed. A few seconds spent identifying each clip can save the time of taking every light down and starting the diagnosis again.
Separate frame rate, exposure duration and the source
Frame rate determines how often frames are recorded. Shutter duration is how long light is gathered for each exposed part of a frame. They are related constraints, but changing one can produce a different result from changing the other. If you are delivering a sequence at a fixed rate, start by keeping that rate. Test shutter durations that are available in that mode. If the camera expresses shutter as an angle, find how it relates to exposure time at your frame rate. A duration that worked when the camera was set to another rate may need to be selected differently.
A simple repeating light variation illustrates what a duration change can do. If an exposure integrates over a whole number of complete cycles, changing its start within the cycle makes less difference to the total light collected, assuming the waveform is stable. A much shorter exposure can capture a bright phase in one region and a darker phase in another. That is one reason why changing shutter time can reduce bands. Real rooms can have several lights with different drivers, dimmers and patterns. Solving the band from one source can leave the variation from another visible. A useful test therefore records the room as a combination and then changes one source at a time.
Conventional shutter settings based on local mains frequency are a starting point when that frequency is relevant to the lighting. They are a poor substitute for testing an unfamiliar LED fixture, a dimmed practical or an electronic display. Sony’s support note describes LED flicker at higher frequencies than ordinary fluorescent flicker and distinguishes conventional anti-flicker operation from finer adjustment. If your camera offers a variable shutter feature in the mode you are using, record a baseline with the nearest conventional shutter setting first. Then adjust in small increments while watching the area that shows the problem. Recheck in a recording. Sony, fluorescent and LED examples and Var. Shutter
For a light that can be controlled, change its setting and record again with the camera settings fixed. If banding appears only at some dimmer positions, you now have information that can help choose an operating point or swap a fixture. If you can light the subject separately, turn practical lamps off one at a time with the owner’s permission. One bad lamp is easier to address than a room of unspecified lights. Keep an eye on exposure while you compare. A dark stripe may seem less obvious simply because the area was made much darker. Use a level where you would actually want to film.
Decide how much you can change without changing the shot
Suppose a short interview uses a warm table lamp in the frame and a separate soft light on the speaker. A shutter adjustment reduces the band from the lamp but makes the speaker’s gestures look sharper than in the rest of the sequence. The picture may be technically clean while the motion no longer matches. Try another controllable change first if the lamp is decorative. A different compatible lamp, a different dimmer position or a modest shift in framing can preserve the movement the director wants. For a venue you do not control, plan a composition that gives less space to the troublesome surface, then test whether it still contributes light to the subject.
A display needs its own test. Keep the display in the state it will be in for the shot. Check the brightness, the material it shows and any visible scrolling or animation. A clean clip of a static title is incomplete evidence for a moving display later in the event. If the screen is crucial to an interview or a demonstration, ask whether the source can be delivered separately for use in the edit. The decision to record it directly or use a screen recording changes what the footage documents. A composite should be treated as such when the authenticity of the scene matters.
The fine adjustments on particular cameras have conditions. Panasonic’s manual for the DC-S1M2 describes a video flicker decrease function and a video Synchro Scan function. Its directions are tied to that camera and to its recording modes. Check which option is enabled in your mode before promising that a borrowed camera can reproduce the settings. Copying a numerical shutter value across cameras may be a useful experiment. It will still need a clip from the actual device, particularly if the second camera is recording at another frame rate or using a sensor mode that reads the image differently. Panasonic, troubleshooting and video shutter controls
For slow motion, make a fresh check. The camera will be recording frames more frequently, and the exposure times you can choose will be constrained by that interval. A light that behaves well in the standard interview can create obvious variation in the faster footage. Decide whether the slow-motion angle is important enough to change the lighting. If the scene cannot be changed, recording a normal-speed insert can be an editorial choice. Save the result as a separate clip and label the actual capture rate. A note that says merely “same camera and room” omits the very difference that could explain the change.
Hand over a usable comparison
Before recording the take, test the chosen setup again with the subject, the actual background and the dimmer settings locked in. Watch for a few seconds beyond the clean moment you first saw. A slowly drifting band can take time to cross the face or the wall. If the test includes a cutaway that will intercut with the interview, view both one after the other. A slight variation can become obvious at the cut because the viewer now has a reference. The clips that pass are useful to preserve until the edit is underway, especially when the shoot spans more than one session.
If a producer has to accept some variation, make the choice visible before a long take. “Clean subject under the key light, movement in the screen behind” is a specific description. So is “faint band on the wall at this setting, with the other camera clean.” Either gives the editor something to check. A note that says “fixed flicker” can be misleading if the test covered only the wide shot. Include the clip that shows the remaining issue and the one that shows the chosen compromise. A second set of eyes may care more about the motion or the visible screen than about the background you were watching.
In post-production, first find out whether the pattern belongs to the recording or appears only during playback on a particular display. Try a frame-by-frame check and another player with the original file. Once stripes are baked into the image, some correction may be possible, but success depends on the footage and what the variation obscured. The set is where you can still change the physical cause. A well-labelled pair of test clips can do more for the final sequence than an unrecorded adjustment that happened to look good for a moment on the viewfinder.
A room can look stable to the eye and still need a camera test. The most useful result is a repeatable combination of fixture, output setting, capture rate and shutter, with a short recording showing why it works. When the lighting operator, camera operator and editor can all refer to the same test, the dark stripe becomes a problem they can locate and describe. The next setup can start with that evidence, while still leaving time to check the light that actually reaches the next frame.